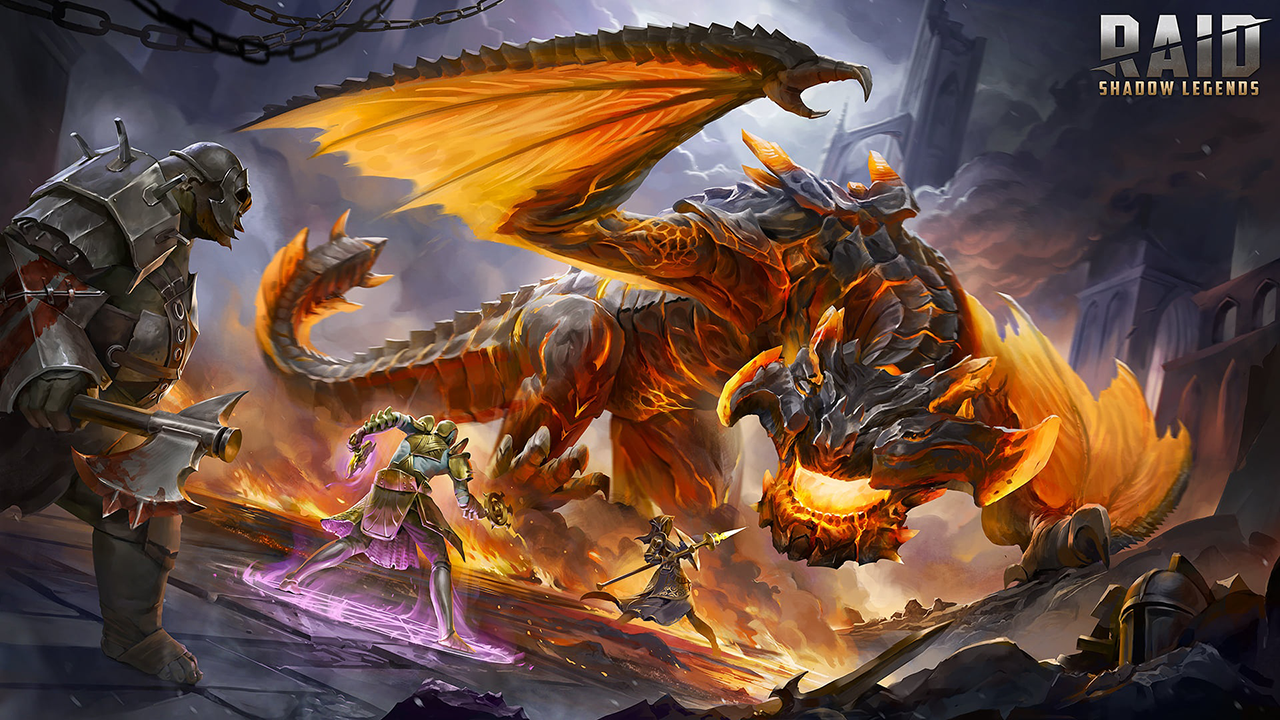
The Steel Wall
The Steel Wall Champion Loadout


This is one of my favorite underrated champions in the game, Angar and running into him sometimes is like running into a steel wall. Especially when he has Stoneskin armor for a two-turn duration. With this build you will be able to kill just about every Arbiter team you come across in the arena. You can build your team completely around Angar and will have a very high win percentage rate, if not 100% completely, depending on your gear.
A lot of people worry that using a go-2nd tanky guy like Angar means your fights will be long and boring. Quite the opposite is true in fact. The fights are typically very short and very problematic for the opposing Arbiter teams. You can use this build and composition make-up to fight other teams as well in the arena but I find Angar to be a great consistent counter to the Arbiter herself.
Strategy Description
Artifacts Description
The Stoneskin set compliments Angar's kit greatly with his arena use in mind. All we need to do to make Angar work here in this sense is to get him a turn and Stoneskin may be the best way in the game to accomplish that task through artifacts, without seeking outside assistance from within the group make-up. Although he can be stripped, it is tough to do and if he were to get stripped, he is one of the tankiest champions in the game.
I like the two-turn Stoneskin personally. It gives him the opportunity to land his A2 and get counter-attacked, while still taking no damage. Allowing him to further mitigate damage within this build without outside help. At least for one turn.
Having a one-turn Stoneskin would also suffice in this case. Considering the fact that you will be facing a fast go-1st team, they have the potential to lap your team. With this build we want Angar to get a turn to land his A2 as soon as possible. So you could consider changing it to a 1-pc Stoneskin with a Speed or Perception set as a 2-pc bonus. Especially if you're lacking Accuracy within your build.
* Some artifact sets have upgraded versions available. If you have a better upgraded version of this recommended artifact set, definitely use that instead.


In this build Angar is treated as an extra DPS champion so we went with a typical nuker offensive build for the arena. He can and will annihilate most offensive based champions that attack him and most of his masteries are here to help support that as we go down the offensive mastery tree.
First we grab the extra 5% crit rate. He doesn't need ATK so don't bother with that. We grab the extra 20% crit damage. Heart of Glory makes sense with the Stoneskin set for the extra 5% damage when attacking with full health. Single Out ramps up his damage on champions that fall below 40% health.
Life Drinker or Whirlwind of Death is your first option. You either get faster when you kill champions, if you kill champions or you get the ability to generate minor heals after Stoneskin is off and you start taking damage, if you start taking damage. Sometimes the fight is over before that ever happens and sometimes you'll need the extra little bit of regeneration to survive the final blows of the last surviving champion. It goes down both ways.
You won't want Bring It Down here because Angar should have more health than anyone who goes into Arbiter team compositions. I usually don't mind if my allies die in the fight after the start because Angar is a one man wrecking crew and mainly we just need him to survive so him picking up an extra 5% damage for any slain ally is a good move.
You're also going to have a really easy time getting Cycle of Violence to proc off of his A2 landing because even though it has low multipliers it usually rocks enemies Arbiter teams enough to trigger the 30% damage condition part of the mastery. Which is really good for his kit since he only has the A1 and the A2, the -1 turn will automatically go into the A2.
He is going to attack with his A1 a LOT so Methodical makes a lot of sense for him. As does Helmsmasher for the ignore defense so you can do as much damage as possible. Going down the defense tree it is pretty much a straight forward arena build but I prefer the Improved Parry over the Blastproof.
Delay Death is amazing mastery to go along with his passive skill of increased damage mitigation. To get back to it we have to grab Bloodthirst, which is going to help you in cases where you may have gotten the Stoneskin stripped off or possibly longer fights. Retribution gives him the chance to counterattack if he loses the Stoneskin and takes damage.
The last mastery is Cycle of Revenge. I feel like this one is very crucial for the go-2nd team against the Arbiter's of the world because you're going to get nuked and you really want Angar to get his turn so he can attempt to land the A2. This does a great job of doing just that. Which I find to be more useful than some extra damage after you've killed someone. This is essential to the kit.


. The value of the [Shield] is equal to 15% of this Champion's MAX HP. Occurs once per turn")


. Cooldown: 1 turn")


Lightning Cage

Crushing Rend
Level 1 Blessing
Lightning Cage is an interesting option. I am treating Angar in this case as a DPS type champion but the real use here is to provide the buff protection for the Reflect Damage and Counter-Attack. He is not only there to control the other team but also provide some DPS if needed. Both in the form of his AOE A2 and his counter-attack damage from his A1.
Since he is attacking weaker offensive based champions, they don't typically stand much of a chance to survive his retaliation efforts. The Lightning Cage extra damage actually does benefit a lower damage dealing champion like Angar, functioning much in the same way that Soul Reap functions at level 1, providing a small percentage of additional damage often required to finish off a support champion like Arbiter.
We don't benefit from the level 2 stat boost from Lightning Cage but that is ok. Angar does benefit from the level 4 boost though, which is nice.
Level 6 Blessing
I haven't personally had the chance to get a 6-star Angar blessing but if I had one I might try Angar out with more damage potential with the Crushing Rend blessing. The one thing that holds these Angar type teams back from being far more dangerous than they are is the lack of pure raw damage.
Anything you can do to increase that damage potential helps tremendously. Since Angar will be doing so many attacks with his A2 + counterattack A1 this blessing might be good.