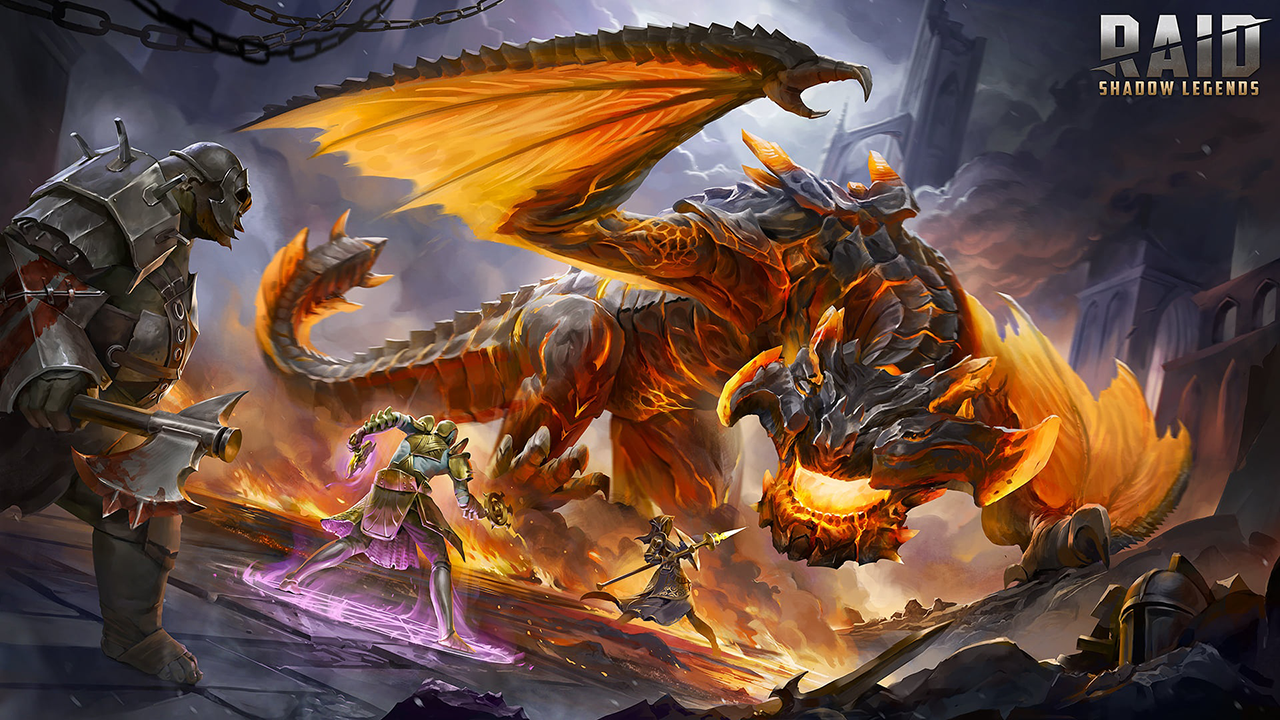
Master Hexer
Master Hexer Champion Loadout

Bovos Sharphorn can be an amazing support champion when it comes to the Skinwalker rotation of the Amius the Lunar Archon fight. He pairs very well with Mighty Ukko to drop crucial debuffs on the boss and help keep your team alive. The Amius rotation works a certain way and I will go over how to use Bovos and his abilities during that rotation to get through the fight. All you need to win is a good enough speed and high enough health on your Bovos to get the job done. Recommended to be slightly faster than the boss.
Bovos will use his A1 for the majority of this fight. One turn or two turns before the boss is about to switch into his alternate form, Bovos can use his A3 ability to give the team some buffs. His A3 can give the team 30% Crit Rate and 30% Crit Damage right before the boss switches forms to force the boss into using his alternate form A3 to flip the buffs into debuffs once he does the switch. These buffs just need to be on one champion which he switches forms to trigger the boss.
Once the boss does his A3 to flip the buffs into debuffs, he will then A2 the team and you're at a crucial junction in this fight. The boss is about to hit your team with his hardest ability. His A1 single attack, which can critical. It hits twice. If this kills one of your teammates, the rotation is not lost but definitely in peril. We don't want to lose a champion here. So Bovos becomes crucial with his 30% Decrease Crit Rate and 25% Decrease Crit Damage debuffs. The boss has 50% critical rate so the boss can still critical if you are unlucky. So if by some chance the boss does crit still on one of his attacks, Bovos can heal the champ by 10% of their MAX health.
If you can survive through that rotation, you should be able to replicate it again and again until you win the fight. Should your team be strong enough to endure the boss attacks. I found Bovos to be quite good as a support champ for this fight due to these mechanics.
Strategy Description
Artifacts Description
The sets here don't matter as much as the stats do. Use what you can to win. I went with the Curing set ideally. Just in case the boss crits on my champion, I want that passive ability to help bring that champion back from the brink of death, even if it's by a small percentage. All healing will help here in this fight. I also went with Perception to help with the ability to land the debuffs, which are crucial to this fight.
For the accessories I really like the new Supersonic set. You can get an additional 20 resistance, 15% health and 10% speed with the full 3-piece set. All great things for this fight. Anything works though except the Refresh Accessories. Just stay away from those.
* Some artifact sets have upgraded versions available. If you have a better upgraded version of this recommended artifact set, definitely use that instead.


For this Amius fight I really don't mind going overboard for the masteries in terms of adding more defense and health to your builds. Damage mitigation helps a lot. I really like Improved Parry and Delay Death for those reasons. If you need the extra accuracy you go can go that route as well. I did with my build and went down to the Eagle Eye mastery for the sixth tier. Just stay away from Cycle of Magic.


. The value of the [Shield] is equal to 15% of this Champion's MAX HP. Occurs once per turn")


. Cooldown: 1 turn")


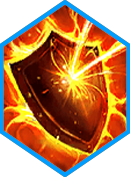
Faultless Defense
Faultless Defense
Level 1 Blessing
There is a chance that you build your Bovos to be the recipient of the the alternate form boss A1 double attack that can crit. Faultless Defense makes for a great blessing to help mitigate that attack. The boss will use it on the champion that has the lowest health so you can manipulate the fight to work it out this way.
Another good blessing is the Commanding Presence blessing. You could add a little bit to your aura and let the legendary champions use other blessings like Brimstone to win the fight. You could also go with Chainbreaker for a small chance (10%) to cleanse the Stun or Sleep debuffs.
Level 6 Blessing
Faultless Defense at the higher levels is still a great blessing made even better by the increase in levels. So is the Commanding Presence blessing. Chainbreaker can still be good but it also would have Turn Meter fill at this point, which I don't know if it would negatively affect your runs or not without trying it.