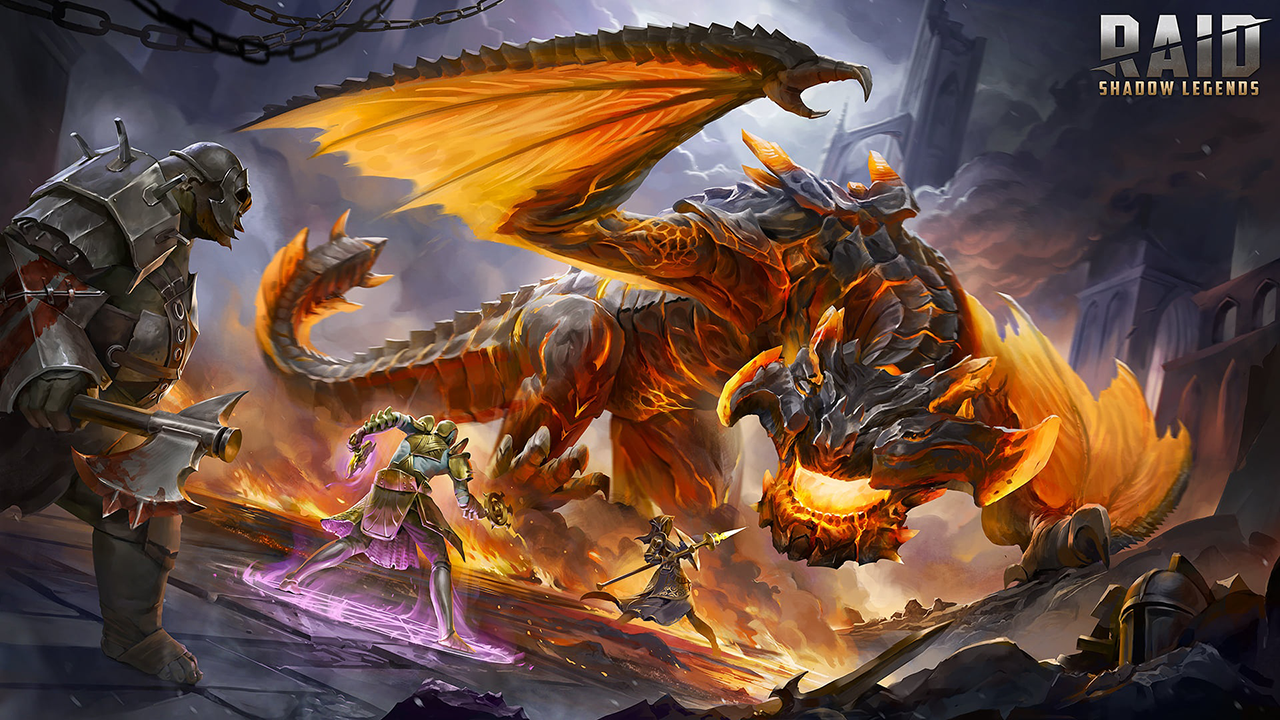
Antivenom
Antivenom Champion Loadout


This is a fun build and a powerful one at that. The beauty of this build is in it's simplicity. It has just one purpose and that purpose is to throw the debuffs back at the boss. That's it. Much like a mirror with reflect. Similar to Riho Bonespear's passive. Except it is permanently on. You're just weathering the initial impact of the blows, then using the poisons and Weaken debuff to defeat the boss. Essentially allowing the boss to beat themselves.
This build really does that job admirably. Not only does Greenwarden output tons of poison damage but he also relatively takes little damage in the process since this is a defensive heavy build. To put this into perspective Ruarc usually outdamages the other DPS on the final wave if you allow him to do so.
There are a few things to consider when running this build and Ruarc on a team. The team composition is going to matter. Obviously. You will though have to take careful consideration how other champion's abilities work in tandem with this strategy in mind. Some champions can defeat the purpose when used.
First and foremost Ruarc can't transfer the debuffs back if the debuffs have been cleansed. This is a big one because champions that cleanse, usually heal and some will even place a block debuffs buff on your team after the cleanse, compounding issues, making things worse. If Pythion for example uses his A2, the heal is really nice for the whole team but you just lost your damage and now the next time the dragon goes to place the debuffs, he can't. Making this a much slower and longer, more dangerous, fight.
Team composition is key. You may find you can build a team that doesn't need a healer or cleanser. Just a team that can deliver a nice blow to Hellrazor, then let Ruarc do his thing after everyone else dies. That can speed up runs at the end and even allow for food to be leveled up during the fight.
Ruarc definitely has soloing potential on the final wave due to the tankiness of this (or similar) builds. He can certainly take a shot and those transferred poisons will add up in damage quickly.
Strategy Description
Artifacts Description
You could easily substitute the Regeneration set here for the four piece and run a two piece Defiant. If you're like me, you don't have a ton of good Regeneration gear and not enough for everybody. I already run tons of other champions in Regeneration gear so it's nice to not have to run this guy in it, too. For that reason, I chose Defiant as the set. Since this won't be a long drawn out battle but a relatively short one.
I really love this Defiant set. Not only does this set give you the same level of resiliency that Stalwart offers but in a two piece set with bonus defense percentage. This allows for you to build a lot of HP% (and other stats) into your sub-stats of your gear and also still have high defense in the process.
If you go with a DEF% chest piece and gauntlets then you tend to have too high of a defense stat. For that reason I will run one of those pieces as HP%, if not both. You won't need critical damage or anything like that because the poisons are doing all of the work. For wave clearing you can just bring other champions to fill that role.
Remember you want the debuffs to land so you won't want to build up the resistance statistic too much. This means a few things. You are free to build up other stats for one. Two, you're going to get stunned during the fight and miss a turn, without a cleanse or some champion like Hoskarul whose A3 ability can cleanse a Stun after his passive ability blocks him from being stunned.
You will want a high amount of speed and a decent amount of accuracy on this champion, to be able to take a turn right after the poisons are applied and transfer them all back. Check the speed/resistance listings for this boss and whatever stage you are currently on to adjust your speed/accuracy. Revenge (Counterattack) accessories are great as are counterattack masteries.
Anything that will have you attack with your A1 after the debuffs is applied will help in the transfer of the debuffs. The decrease attack on the A2 also helps if you don't throw the decrease attack from the boss back at him. It'll at least give you one more opportunity to land it should his debuff bar be filled up from other debuffs at another point.
* Some artifact sets have upgraded versions available. If you have a better upgraded version of this recommended artifact set, definitely use that instead.


There really is a lot of different combinations of things you could do here with these masteries but there is so much to consider when doing so. I find that the damage from any other source other than the poisons is negligible. The poisons are what really matter and landing them is key. You could go down the offense tree for bonus damage and to help slightly with wave clearing by going for Warmaster down the left side of the tree.
For myself, personally, I went with Defense and Support trees. I also build my Ruarc for the arena specifically and not for the Tainted Hellrazor so this can double and work in that area as well. I would mainly just change the six star mastery in that case.
Down the defensive tree you're just getting more sustainability in the final wave. You get a bunch more damage reduction. The entire second tier has all good options. You could go with any combination of the first three and no one would bat an eye. You're going to get stunned, then hit, so Mighty Endurance makes sense. You could go with Charged Focus as well, then turn off the A3 (and the A2 if you really wanted) during the final fight so that it was always active.
I went with Resurgent for the 3rd option because there just isn't really any good options to choose from here. You won't want to lose a debuff (other than the Stun) versus the dragon and he doesn't hit me hard enough to trigger this anyways in this build. What I use it for is the arena. For a nuker like Staltus who may rock you with his A2 and Stun you in the process. Shadow Heal is another good option for this reason and might have better synergy.
Retribution is nice if it'll trigger because you get the counterattack you need to use his A1 to transfer the debuffs but you're going to run into the same issue as Resurgent here, in that, the dragon never hits you hard enough to do 25%+ damage in one blow so this won't activate. It will activate in the arena, though. With that in mind, you could go Cycle of Revenge for more Turn Meter or even Selfless Defender to help keep your DPS alive through the first hit if your Ruarc is tanky enough.
On the Support side we just went with increased Accuracy and increasing the Shield capabilities from his passive. Lasting Gifts can help keep his self buffs up longer and Master Hexer does the same for his A2 decrease attack. Spirit Haste is always an option since any squishies tend to die on this boss.
Last but not least the sixth mastery. You have a few options. Eagle Eye is a natural choice and can help reduce the need for accuracy substats on your gear. You could also go with Elixir or Life for more HP to last longer. Personally I go with the arena option of Polymorph and use Fearsome Presence instead but that's just me.


. The value of the [Shield] is equal to 15% of this Champion's MAX HP. Occurs once per turn")


. Cooldown: 1 turn")


Heavencast

Brimstone
Level 1 Blessing
I went with the Heavencast blessing here because the transfer of debuffs does require accuracy and most level one blessings aren't very good anyways. His A1 is all that really matters here since it is where all of the damage is coming from.
Level 6 Blessing
If you have a six star blessing for this guy I'm assuming that you will have enough accuracy to transfer the debuffs and land them so the Brimstone blessing can help you deal some additional damage and help speed the runs up. It also has nice stat bonuses for a champion and a build like this. A great compliment.